June 2005 Archives

CNC-machine pen and ink drawing

| 4 Comments


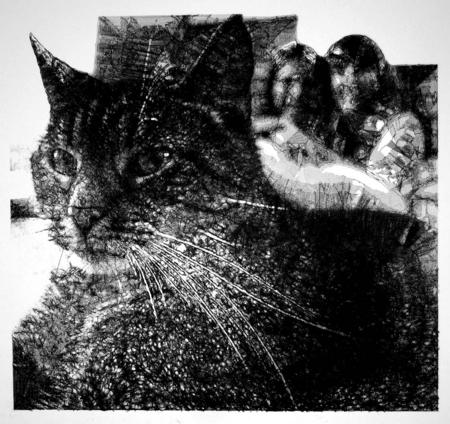
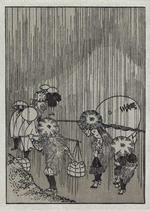
"Girls and Cat" click image for enlargement

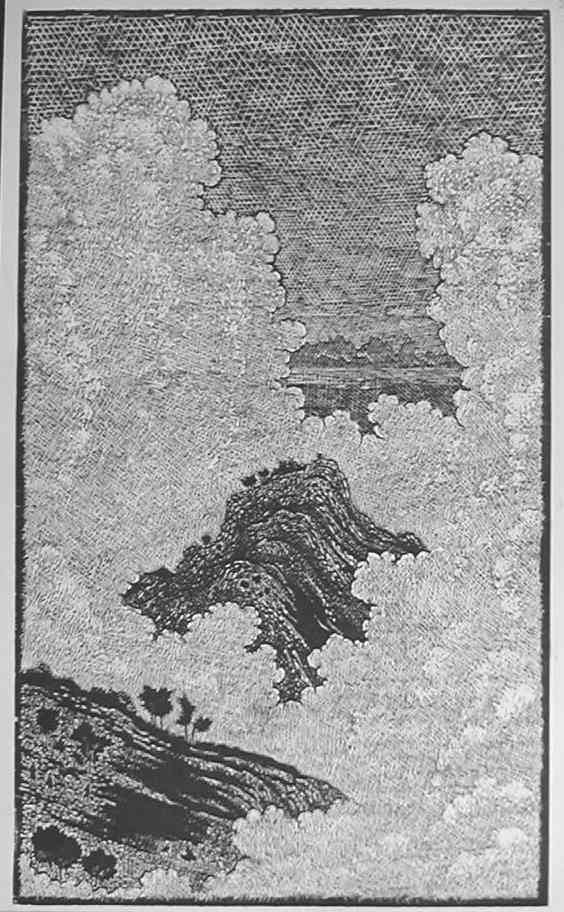
This is a pen and ink drawing (black rolling writer on BFK) made by CNC Machine. The pen paths followed the contours of the gray areas of the digital image used as a 'map'. The first contours drawn were those which were the darkest tones in the image. The pen more or less follows the outer contours, spiraling inward about 30 lines per inch. Then the contours of the two darkest tones toghther, then the three darkest tones, and so on until the contours of all non-white tones were drawn last.

Here's a detail of the cat's face:


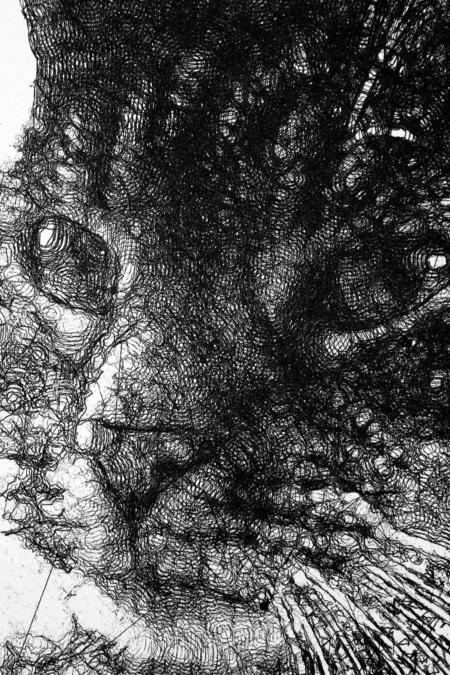
detail -- click for enlargement)

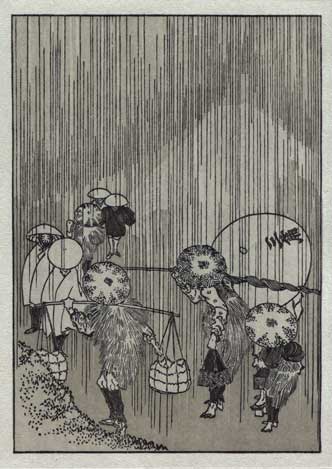
The lines do an interesting job of approximating the gray-tones of the original image and leave those complex criss-crossed curvy contours on the paper which I think are very beautiful!

The drawing took about 8 hours to complete at about three inches per second -- over a mile of line on this 14 x 14 inch drawing!

CNC-machined Sarah mezzotint

| No Comments


click image to pop-up enlargement

The copper plate for this mezzotint was entirely produced by CNC machine holding two conventional EC Lyons tools -- a diamond-tipped dry-point graver which was used to scribe a series of parallel lines at 50 lines per inch over the entire plate, then another set of lines at a 15 degree angle to the first set, and so on through 180 degrees.

Then a small ball-end burnisher was used to burnish out the highlights in about 13 steps...

First the machine followed the contour of all non-black areas, then all but the two darkest areas, then all but the three darkest areas, and so on until the final pass burnished only the lightest areas.

The plate was then inked, wiped, and printed as usual with intaglios.

This is "Mia", printed on tan Rives BFK paper from an 18x12 inch copper plate.

The copper was drypointed and burnished entirely by my CNC machine, following paths I generated from my digital image and using EC Lyons conventional tools fixed in a special jig I made for the machine.

The plate was held flat during machining by a simple vacuum plenum powered by a shop-vac!

email Mike Lyon

Hanga Class

| 2 Comments

Hi all,
I've had some troubles posting a message about some recent activity (that in the past might be on the Baren Show n' Tell page) so this blog has come at an opportune time. If you go to my website, http://www.ralene.com/gallery/Doings/do.html you find some pictures of me at an art fair, but more importantly, if you scroll down, pictures of an April Vollmer hanga class at our local community college in Santa Cruz, CA, at which I helped out. The class of 13 ran an entire week and each student was able to produce a small edition (my own print is the last picture). Also, I had two prints (non-moku-hanga) selected for the New Mexico Printmakers show, Hand Prints, at the University of New Mexico-Los Alamos (you can see the entire show at http://www.newmexicoprintmakers.com/handprints.html and my two prints (one a silkscreen, one a reduction woodcut) are viewable at http://www.newmexicoprintmakers.com/images/Hand%20Prints/33.JPG.
Take care all.
frank

Woodblock print

| 1 Comment
Here's the 22nd. state of a woodcut I've been working on off and on for the last year or so. It's on 1/4 inch birch plywood, 13 by 22 inches, oil-based ink printed on an etching press. The plywood developed waves after cutting and is no longer flat so it's difficult to get a consistently inked print; I'll know to use a thicker wood next time! This is the largest woodblock I've done. http://www270.pair.com/madis/a/clouds1.jpg http://www270.pair.com/madis/a/clouds2.jpg Not sure if I'm through with this print or not, probably title it "Walking In the Clouds".

Work in progress.......

| No Comments

For a while now I been wanting to do an image of Mt.Fuji. With so many prints of the famous mountain already in existence I decided to do one that emphasizes heavy cloud coverage during sunset....Click on the images for an enlargement.

You may have your image appear in a thumbnail form, as seen here, with a larger version that popups up when the small one is clicked ...

print_11.jpg

As long as you keep the horizontal dimension below 500 pixels, you can just put your image right into the body of your entry, as in this example.

First test post ...

| 7 Comments

Well, here we are ... the first test of the new BarenForum Blog! A few days ago, member Andy English from England sent the group a link to his new blog, which is located at: http://studiodiary.blogspot.com/ As soon as we saw it, a few of us realized that this sort of thing could be a very interesting and useful addition to the Baren website too. Julio Rodriguez wrote to me asking if I thought we should get involved ...

So, with apologies to Andy for 'cutting in' on his idea ... but with thanks to him for providing the impetus ... here we are!

What sort of content do we expect? Well, to start with, we've set up the categories that you see in the sidebar at the right side of the front page. If those turn out not to be enough, we can certainly add some more.

Julio Rodriguez is going to be the manager for a while; members who want to make postings here please contact him to get instructions/passwords/etc. In the meantime, anbody at all can respond/answer/comment on any of the entries here by simply clicking on the 'Comment' link located at the end of each post. Let's give this a shot!

About this Archive

This page is an archive of entries from June 2005 listed from newest to oldest.

July 2005 is the next archive.

Find recent content on the main index or look in the archives to find all content.