Posted by Julio at 12:09 AM, November 17, 2009
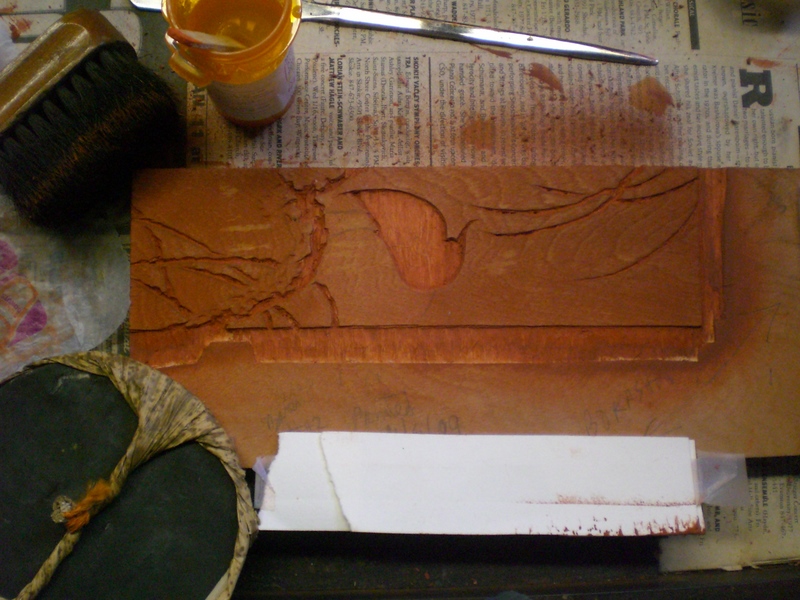
For my latest print I wanted to include some of the traditional Japanese techniques. Here is the background block which will later be used for three more impressions. Note the traditional kento registration marks. Image size is about 3 X 9.5 inches.
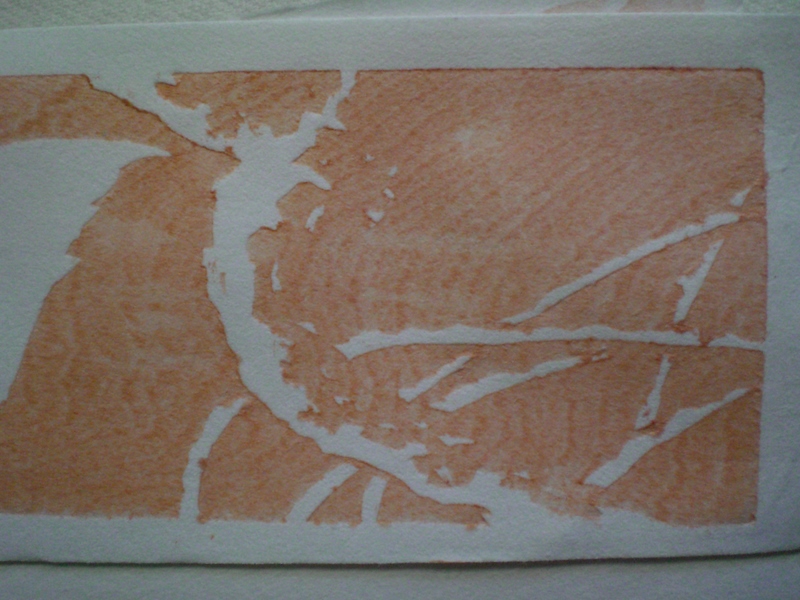
The first color impression shows a very beautiful wood grain pattern
for the background color. The block is made of birch plywood and Japanese hosho was the paper selected for these prints.
The baren flattens out the paper in the color areas leaving behind whites areas with a light embossing (karazuri) effect. Actually what we are seeing is the natural thickness of the paper !
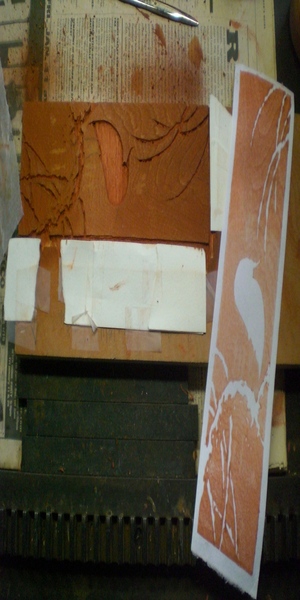
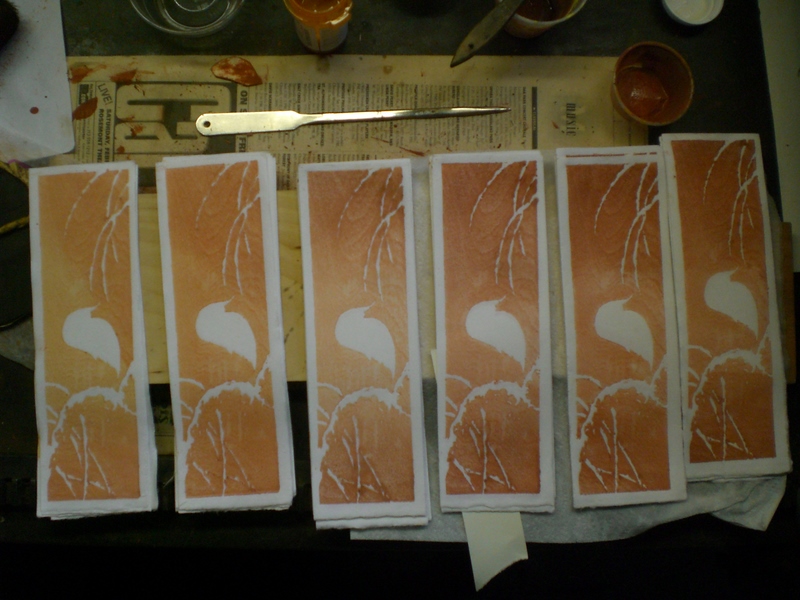
For the next impression I tried a "double" gradation (bokashi). Using the same background block as before a little pigment and paste was applied to both the top and bottom of the block. First I brushed in the gradation at the bottom of the image (pigment area on brush toward the bottom) then carefully turning the brush around (pigment area on the brush now towards top) I brushed on the gradation at the top. Proper brush alignment is key during gradation to keep the paste and pigment areas from messing up. The impression was then taken with the baren. Although not traditional the white cardboard pieces are used to keep the edges of the print smudge free, they flip out of the way while applying color to the block and then flip back in place just before placing the paper on the block.
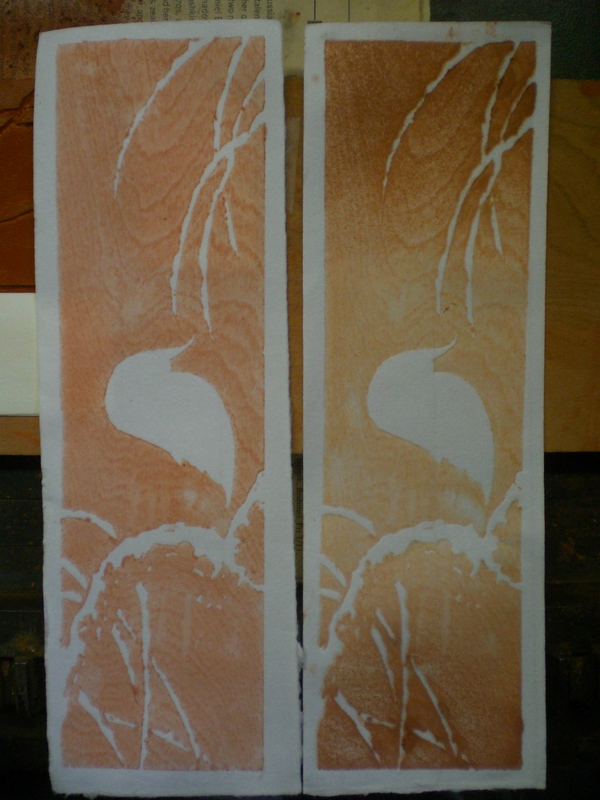
Here is the before and after photo for the "double" bokashi.
Proofing for the desired amount of bokashi turned out to be as tricky as getting the same results on every print. Eventually I settled on one of the darker tones near the right of the photo. In case you are wondering the sharp metal tool in the photo was used to cleanup the small crevices from accumulated pigment.
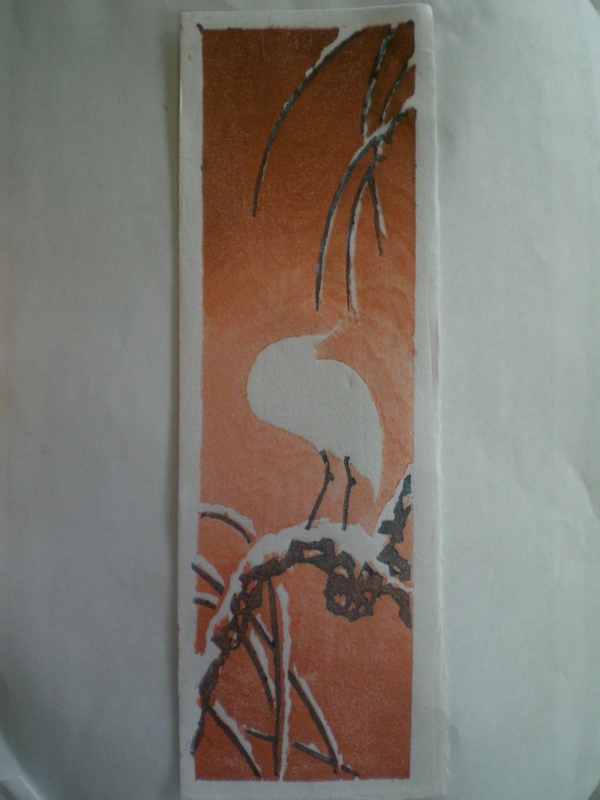
A third and darker gradation was applied at the top of the image for additional contrast.
The key block was next and a black/blue tone was used for the branches, tree trunk and legs. Not happy with the original heron beak I had carved it was removed from the block and I went ahead printing what you see here.
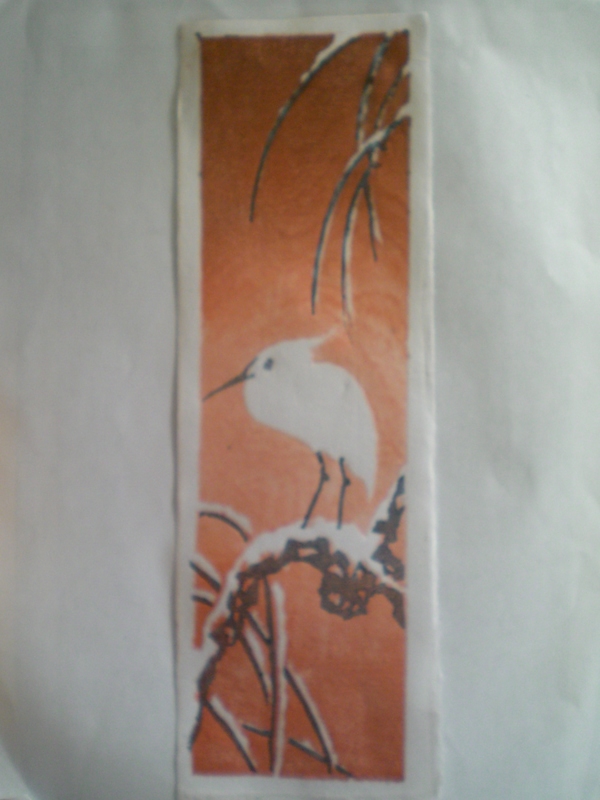
Then the final color impression for a new beak and eye.
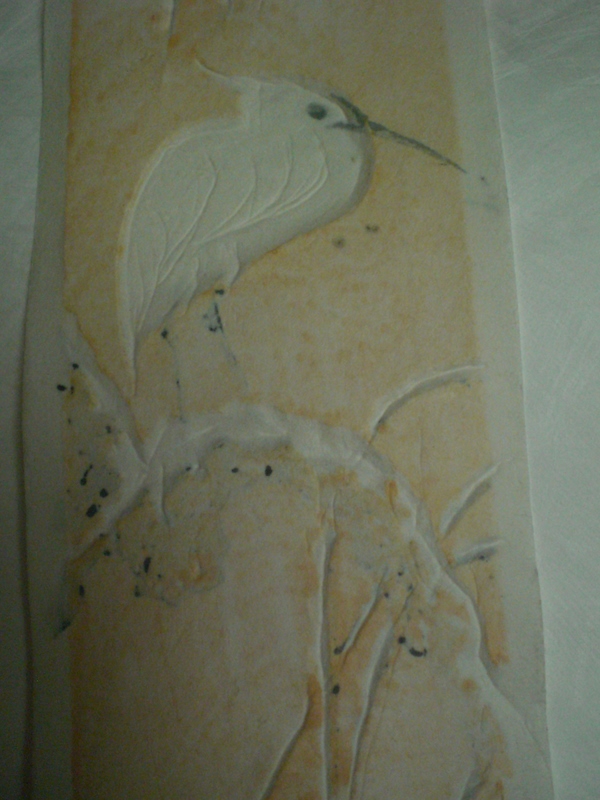
For the last impression no color was used. The still moist prints were placed back on the now dry background block and heavy embossing (kimedashi) was obtained by carefully pushing the paper into the carved out crevices (tree branches, trunk and heron body). The moist paper expands and takes the shape of the carved out area. The tools I used for pushing the paper were a popsicle stick and for tight spots the tip of a golf tee. This last photo shows the verso side of the print. Note the feather and wing pattern on the heron's body. As the paper dries the embossing remains.
Thanks for checking out my work.....Julio




Nice print, Julio. I'm looking forward to having one. That paper strip on the bottom is a good idea... I always have smudges on the bottom and so make the border wide and trim it. Next time, I'll save some paper.
Hello, Julio, I saw one of your prints several years ago --a black bird on a narrow vertical print. It is still haunting me. Is it available?Glenna in Indianapolis